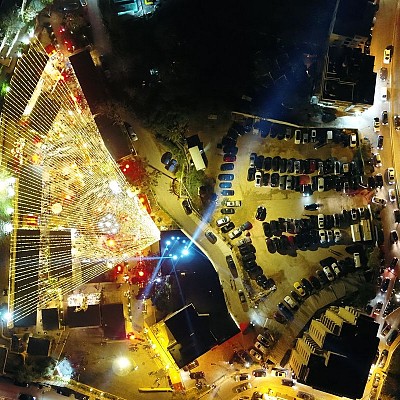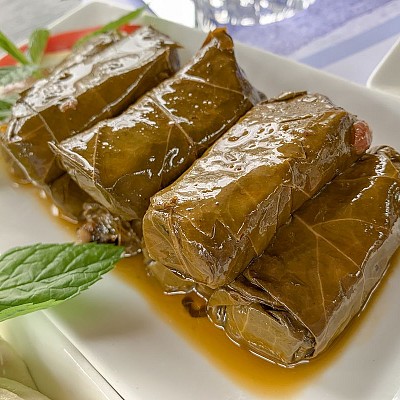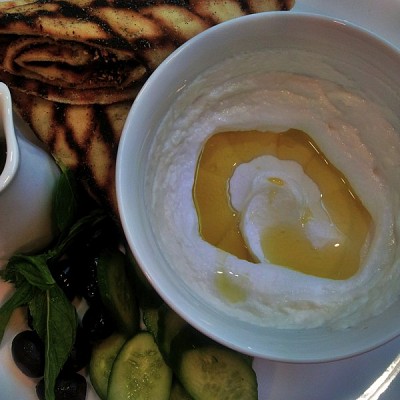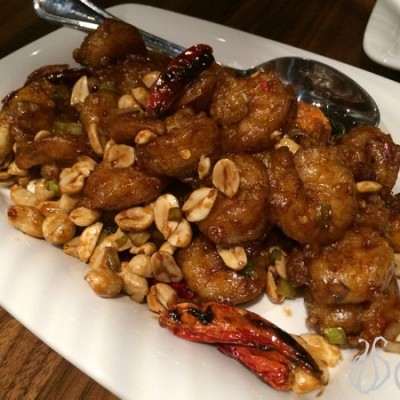
A couple of months ago, I decided to give it a try: To take some detailed food shots with my iPhone and see what the results can be...

All I did was grabbing my iPhone 4S, throw some food items on the table, just make sure I had good lighting and started shooting:
The results were simply awesome!

It's simple:
- Make sure you have a good light source, the simpler is working next to the window.
- Get any white reflective surface and use it to remove shadows and create more artificial lighting in the spots you choose
- Create a nice setup, simple and natural, with backgrounds that will give some texture to your shots.
- Keep it cool, too much adjustments will spoil the natural feel.
- Activate the grid in your camere settings for better framing.
- Grab your phone with two hands, position them on the table and make sure you do not move a single millimeter while shooting. It's crucial to have a support for your shoulders.
- Give your image a depth of field by shooting the lowest possible. Images are way better with a first object showing in front and the rest a bit out of focus in the back.
- Use any software you like to slightly fine tune the colours.
- Try Instagram, it has very nice easy features that improve the look of your images.
- Enjoy your creative work.

Check out the results, grab your phone and start shooting. Will show you more pitures with the iPhone 5 soon.
Cookies

Muffins

Crackers

Rice

Cheese

Morning strawberry Margarita

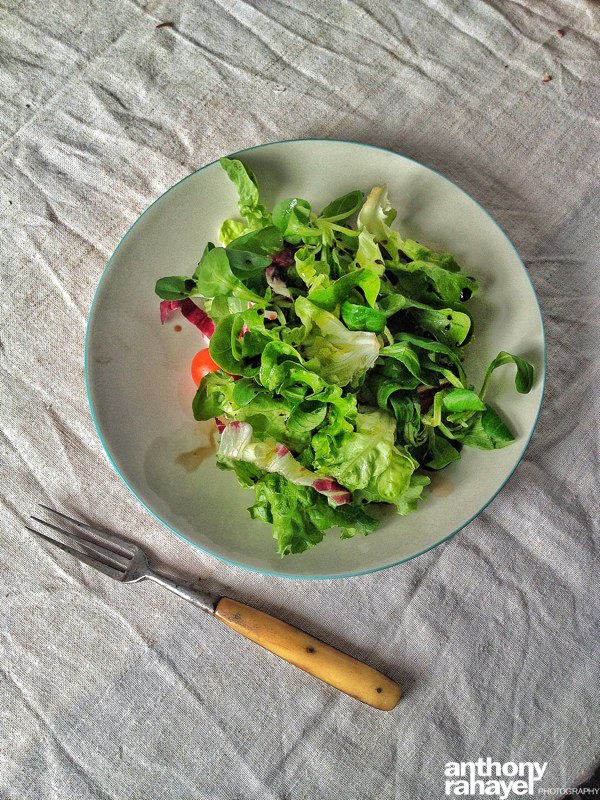
Salad

Bread

Strawberries

Cutting board

PS: All the pictures have been taken with the iPhone 4S and downloaded directly from the phone to the website. Light color enhancement has been done. No Photoshop retouching is involved. Anthony Rahayel ©2012
Tags:
Lebanon Food Beirut Colors NoGarlicNoOnions Anthony Rahayel Technology Photos Photography iPhone Pictures Copyright Retouching Colour Instagram
Categories:
News